
Android Transition框架允许我们对应用程序用户界面当中的各类外观变化加以配置。大家可以在应用程序屏幕内实现动画式过渡、将每个阶段定义为一种场景并控制应用程序如何从一种显示场景过渡到另一种。
在今天的文章中,我们将构建一款简单的应用程序、并为其制作一套动画过渡效果。为了完成这项任务,大家需要涉及的内容包括在XML当中准备布局与可绘制文件、而后利用Java配置并应用这套过渡机制。我们将定义两种场景,其中同样的一组视图项目将以不同方式排列在设备屏幕之上。在大家使用Transition框架时,Android将自动完成两种场景转换过程中的动画过渡效果。
1. 创建应用程序
第一步
作为教程的第一步,我们首先在自己选定的IDE中创建一款新的应用程序。大家至少需要使用SDK 19才能让这些Transition类顺利起效,因此假如打算让其支持其它早期版本、我们还需要执行其它一些额外步骤。
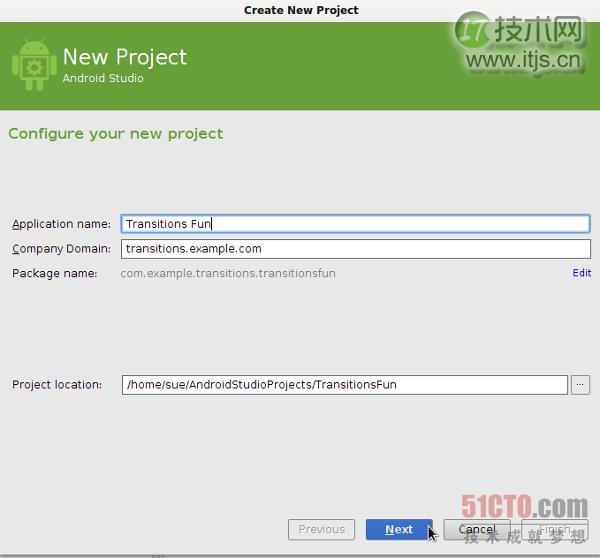
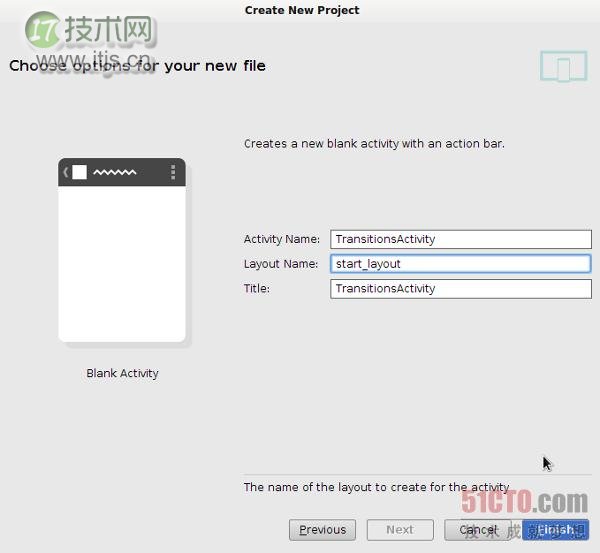
首先为应用程序指定一个主Activity与布局文件,并为该布局选择start_layout.xml作为名称。我们随后还会添加其它布局文件,并利用Transition机制在不同显示布局之间进行转换。下面几幅截图显示了这一过程在Android Studio中的具体实现流程。


第二步
下面我们在Transition中准备一些可绘制图形以资利用。我们将准备四个圆形图案,每一个都采用不同的渐变颜色进行填充。在这款示例应用程序的可绘制资源目录内,首先创建一个名为shape1.xml的新文件。通过以下代码添加图形:
< xml version="1.0" encoding="utf-8" >
<shape xmlns:android="http://schemas.android.com/apk/res/android"
    android:dither="true"
    android:shape="oval" >

    <gradient
        android:endColor="#66ff0000"
        android:gradientRadius="150"
        android:startColor="#ffffcc00"
        android:type="radial"
        android:useLevel="false" />

    <size
        android:height="100dp"
        android:width="100dp" />

</shape>
以上代码构建出的是一个由渐变色填充而成的圆形图案。而四个图形在大小与样式方面完全相同,仅仅在色彩上有所区别。当然,大家可能需要为不同像素密度的设备分别准备多种不同版本的图形。利用以下代码创建shape2.xml:
< xml version="1.0" encoding="utf-8" >
<shape xmlns:android="http://schemas.android.com/apk/res/android"
    android:dither="true"
    android:shape="oval" >

    <gradient
        android:endColor="#66ffcc00"
        android:gradientRadius="150"
        android:startColor="#ff00ff00"
        android:type="radial"
        android:useLevel="false" />

    <size
        android:height="100dp"
        android:width="100dp" />

</shape>
现在添加shape3.xml:
< xml version="1.0" encoding="utf-8" >
<shape xmlns:android="http://schemas.android.com/apk/res/android"
    android:dither="true"
    android:shape="oval" >

    <gradient
        android:endColor="#6600ff00"
        android:gradientRadius="150"
        android:startColor="#ff0000ff"
        android:type="radial"
        android:useLevel="false" />

    <size
        android:height="100dp"
        android:width="100dp" />

</shape>
最后添加shape4.xml:
< xml version="1.0" encoding="utf-8" >
<shape xmlns:android="http://schemas.android.com/apk/res/android"
    android:dither="true"
    android:shape="oval" >

    <gradient
        android:endColor="#660000ff"
        android:gradientRadius="150"
        android:startColor="#ffff0000"
        android:type="radial"
        android:useLevel="false" />

    <size
        android:height="100dp"
        android:width="100dp" />

</shape>
我们将把这些图形作为ImageButtons应用在两种布局场景之内。
2. 创建布局场景
第一步
接下来,大家要对将在几种XML布局之间进行过渡的两类场景进行定义。首先是处理大家在创建应用程序时就已经添加完成的主布局文件,即start_layout.xml。将其打开并切换到XML编辑标签。利用以下代码使用RelativeLayout:
<RelativeLayout xmlns:android="http://schemas.android.com/apk/res/android"
    xmlns:tools="http://schemas.android.com/tools"
    android:layout_width="match_parent"
    android:layout_height="match_parent"
    android:background="#ff000000"
    android:id="@+id/base"
    tools:context=".TransitionsActivity">

</RelativeLayout>
我们已经为该布局添加了背景颜色与ID。这条ID的作用在于确保Android处理不同场景之间的过渡效果,大家还将在第二个场景中再次使用同样的ID。当我们在两个场景之间过渡时,Android会以动画形式对各场景中拥有同样ID的视图进行转换。假如二者不具备同样的ID,那么Android系统会将它们视为完全不同的项目、并单纯以淡入或者淡出方式处理其过渡效果。
在RelativeLayout当中,为我们之前创建好的每个图形创建ImageButton:
<ImageButton
    android:layout_width="wrap_content"
    android:layout_height="wrap_content"
    android:id="@+id/btn1"
    android:src="@drawable/shape1"
    android:background="#00000000"
    android:contentDescription="shape"
    android:layout_alignParentLeft="true"
    android:layout_alignParentTop="true"
    android:onClick="changeScene"/>

<ImageButton
    android:layout_width="wrap_content"
    android:layout_height="wrap_content"
    android:id="@+id/btn2"
    android:src="@drawable/shape2"
    android:background="#00000000"
    android:contentDescription="shape"
    android:layout_alignParentRight="true"
    android:layout_alignParentTop="true"
    android:onClick="changeScene"/>

<ImageButton
    android:layout_width="wrap_content"
    android:layout_height="wrap_content"
    android:id="@+id/btn3"
    android:src="@drawable/shape3"
    android:background="#00000000"
    android:contentDescription="shape"
    android:layout_alignParentLeft="true"
    android:layout_alignParentBottom="true"
    android:onClick="changeScene"/>

<ImageButton
    android:layout_width="wrap_content"
    android:layout_height="wrap_content"
    android:id="@+id/btn4"
    android:src="@drawable/shape4"
    android:background="#00000000"
    android:contentDescription="shape"
    android:layout_alignParentRight="true"
    android:layout_alignParentBottom="true"
    android:onClick="changeScene"/>
需要注意的是,每一个图形按钮都拥有自己的ID——我们创建的第二套布局当然也是如此——外加onClick属性。我们随后将把这一方法添加到主Activity当中并在用户点击任意图形时启动过渡流程。
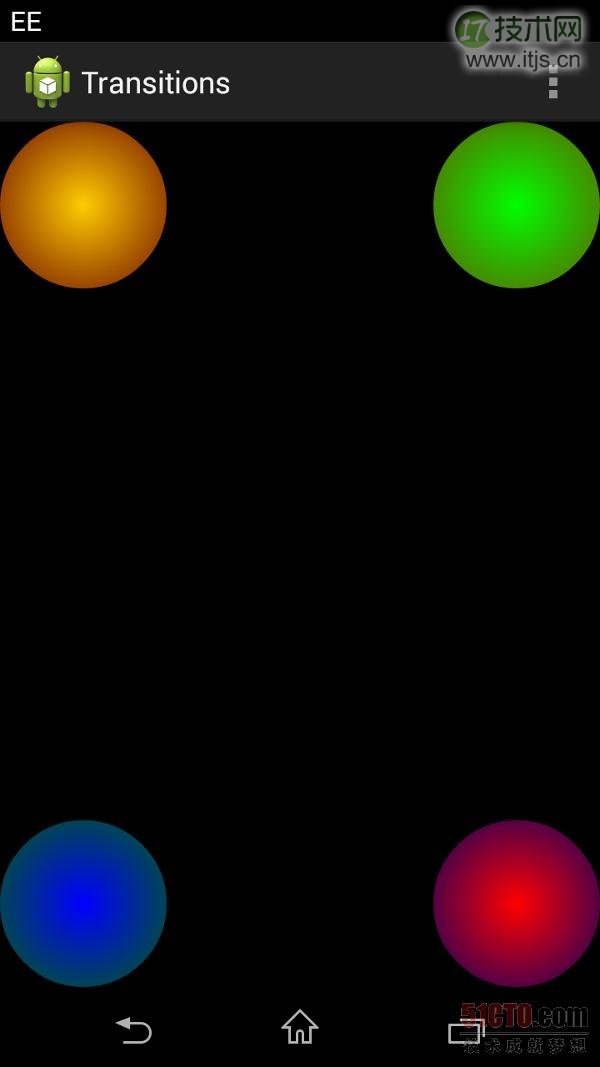
现在我们将在IDE当中看到整套布局的预览图,不过在某些情况下大家要真正在设备或者模拟器上运行该应用才能看到其渐变以及/或者透明效果。这些图形被排列在屏幕的四个边角位置,具体效果如下图所示。

第二步
我们创建的第一套布局方案将显示为过渡流程的起始状态。现在让我们为场景创建第二个布局文件,并将其作为过渡流程的结束状态。在我们的应用程序布局资源目录中添加一个新文件,将其命名为end_layout.xml。切换到文本编辑标签并输入以下代码:
<RelativeLayout xmlns:android="http://schemas.android.com/apk/res/android"
    xmlns:tools="http://schemas.android.com/tools"
    android:layout_width="match_parent"
    android:layout_height="match_parent"
    android:background="#ff000000"
    android:id="@+id/base"
    tools:context=".TransitionsActivity">

    <ImageButton
        android:layout_width="wrap_content"
        android:layout_height="wrap_content"
        android:id="@+id/btn1"
        android:src="@drawable/shape1"
        android:background="#00000000"
        android:contentDescription="shape"
        android:layout_alignParentRight="true"
        android:layout_alignParentBottom="true"
        android:onClick="changeScene"/>

    <ImageButton
        android:layout_width="wrap_content"
        android:layout_height="wrap_content"
        android:id="@+id/btn2"
        android:src="@drawable/shape2"
        android:background="#00000000"
        android:contentDescription="shape"
        android:layout_alignParentLeft="true"
        android:layout_alignParentBottom="true"
        android:onClick="changeScene"/>

    <ImageButton
        android:layout_width="wrap_content"
        android:layout_height="wrap_content"
        android:id="@+id/btn3"
        android:src="@drawable/shape3"
        android:background="#00000000"
        android:contentDescription="shape"
        android:layout_alignParentRight="true"
        android:layout_alignParentTop="true"
        android:onClick="changeScene"/>

    <ImageButton
        android:layout_width="wrap_content"
        android:layout_height="wrap_content"
        android:id="@+id/btn4"
        android:src="@drawable/shape4"
        android:background="#00000000"
        android:contentDescription="shape"
        android:layout_alignParentLeft="true"
        android:layout_alignParentTop="true"
        android:onClick="changeScene"/>

</RelativeLayout>
现在让我们花点时间审视以上布局代码。除了各个图形按钮的位置之外,它与第一套布局完全相同。每个图形都从起始位置被移动到了其对角线处。过渡流程将因此而对各图形进行位置互换,也就是将其引导至屏幕上的对角位置。
3. 不同场景之间进行过渡
第一步
现在我们已经对两套布局进行了定义,现在要做的就是利用过渡机制完成二者之间的移动流程。打开应用程序中的主Activity类。大家将需要使用以下导入语句:
import android.transition.AutoTransition;
import android.transition.Scene;
import android.transition.Transition;
import android.view.View;
import android.view.ViewGroup;
import android.view.animation.AccelerateDecelerateInterpolator;
import android.widget.RelativeLayout;
import android.transition.TransitionManager;
在Activity类声明中、onCreate方法之前处,我们需要添加以下实例变量以应用该过渡机制:
//scenes to transition
private Scene scene1, scene2;
//transition to move between scenes
private Transition transition;
//flag to swap between scenes
private boolean start;
第二步
现在让我们为过渡做好准备,整个流程将在用户点击任意图形时正式开始。在onCreate中,大家要在IDE已经输入的现有代码之后添加以下内容:
//get the layout ID
RelativeLayout baseLayout = (RelativeLayout)findViewById(R.id.base);

//first scene
ViewGroup startViews = (ViewGroup)getLayoutInflater()
    .inflate(R.layout.start_layout, baseLayout, false);

//second scene
ViewGroup endViews = (ViewGroup)getLayoutInflater()
    .inflate(R.layout.end_layout, baseLayout, false);
我们首先需要对基础场景进行定义,也就是我们在两个场景布局文件内为所包含布局设定的ID。接下来,我们还需要定义作为过渡流程起始与结束状态的两个场景,为其指定布局文件名称以及所包含基础场景。通过这种方式,Android将能够根据我们的需要在两个场景之间进行过渡、并将不同场景下具备相同ID的任意视图元素作为同一对象加以处理,这样场景切换时就能显示出动画式的变化效果。
接下来,我们定义作为过渡流程起始与结束状态的两个场景,仍然是在onCreate当中:
//create the two scenes
scene1 = new Scene(baseLayout, startViews);
scene2 = new Scene(baseLayout, endViews);
大家要将基础布局与相关场景布局传递至每一个构造函数当中。现在我们已经可以在定义过渡流程时引用这些场景了。
第三步
下面我们作好执行过渡的准备,仍然是在onCreate当中:
//create transition, set properties
transition = new AutoTransition();
transition.setDuration(5000);
transition.setInterpolator(new AccelerateDecelerateInterpolator());

//initialize flag
start=true;
Android提供了一系列过渡类型可供选择,大家可以根据自己需要的场景变化方式采用其中的不同动画效果。在今天的示例当中,我们选择的是AutoTransition,因此Android会计算如何以两种变化场景的属性为基础实现过渡。感兴趣的朋友也可以点击此处查看更多与Transition引用相关的选项。
我们为过渡流程设置了持续时间与内插程序。大家也可以根据需要为整套变化机制设定启动延时。最后,我们通过初始化将布尔标记设定为true。为了简便起见,我们将采取点击任意图形来激活场景切换的方式,但这只是为了演示示例所具备的实际功能。
第四步
大家一定还记得,我们在创建布局XML文件时已经将onClick属性添加到图形按钮当中。现在大家要将该方法添加到Activity内:
public void changeScene(View v){

    //check flag
    if(start) {
        TransitionManager.go(scene2, transition);
        start=false;
    }
    else {
        TransitionManager.go(scene1, transition);
        start=true;
    }
}
我们利用Activity实现从当前场景向另一套场景的过渡,其中布尔标记会持续追踪我们当前正在使用的场景类型。我们还指定了此前已经创建完成的Transition对象,旨在保证切换的执行过程与预期效果相匹配。
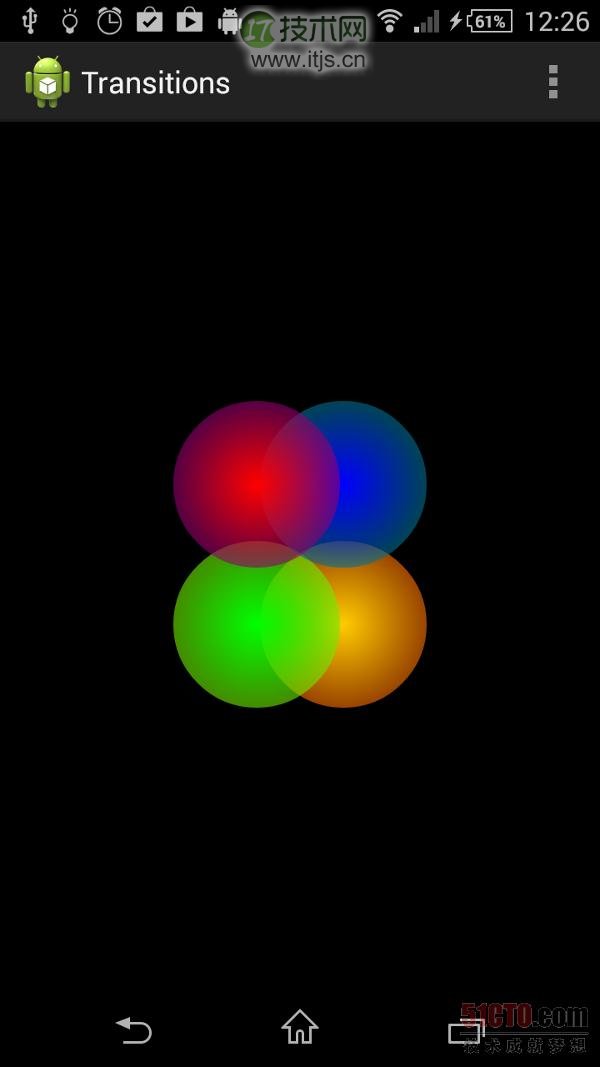
现在大家应该已经可以运行自己的应用程序,并在点击任意图形时查看到整个过渡流程。每当我们执行点击操作时,过渡流程就会将各个图形缓慢移动到屏幕上的对角线位置,再次点击则可使其回归原位。
内容总结
在今天的文章中,我们事实上还只是初步了解了自己能够利用Android Transition框架实现怎样的设计方案与过渡效果。要在自己的应用程序中引入更多过渡机制,大家可以点击此处查看TransitionManager类当中的其它方法,其中包括beginDelayedTransition与transitionTo。此外,大家也不妨尝试利用TransitionSet将多种过渡机制结合在一起,例如同时使用来自不同过渡机制的渐变与移动效果。根据过渡机制复杂程度的不同,大家可能还需要用到TransitionValues类,它能够提供与对应过渡相关的数据值引用能力。假如各位还想了解更多与场景处理相关的技术手段,也可以点击此处查看Scene类的相关说明。